Flutter動画やってみよ(eBook)その2
以下のYoutubeの動画を、実際になぞっていきます。
前回は、こちら。
Flutter動画やってみよ(eBook)その1 - もっぺんプログラミング(´・ω・`)
次のページを作る
前回、トップページに "start reading" ボタンを作ったので、その遷移先のページを用意していきます。
/lib/screens というディレクトリを作成し、そこに、home_screen.dart ファイルを作成します。
まずは、空の中身で作ります。
import 'package:flutter/material.dart';

class HomeScreen extends StatelessWidget {
  @override
  Widget build(BuildContext context) {
    return Scaffold(
      body: Container(),
    );
  }
}
main.dart に戻って、ボタンを押したらHomeScreenに遷移するようにします。
child: RoundedButton(
    text: "start reading.",
    fontSize: 20,
    press: () {  // ← press の関数を追加
      Navigator.push(
        context,
        MaterialPageRoute(
          builder: (context) {
            return HomeScreen();
          },
        ),
      );
    }),
エミュレーターで画面遷移することが確認できたら、HomeScreenを作っていきましょう。
HomeScreen に背景とタイトルを付ける
背景画像とタイトルを設定します。
HomeScreen を以下のように編集します。
import 'package:flutter/material.dart';

class HomeScreen extends StatelessWidget {
  @override
  Widget build(BuildContext context) {
    var size = MediaQuery.of(context).size;
    return Scaffold(
      body: Container(
        width: double.infinity,
        decoration: BoxDecoration(
          image: DecorationImage(
            image: AssetImage("assets/images/main_page_bg.png"),
            alignment: Alignment.topCenter,
            fit: BoxFit.fitWidth,
          ),
        ),
        child: Column(
          crossAxisAlignment: CrossAxisAlignment.start,
          children: <Widget>[
            SizedBox(height: size.height * .1),
            Padding(
              padding: const EdgeInsets.symmetric(horizontal: 24),
              child: RichText(
                text: TextSpan(
                  style: Theme.of(context).textTheme.display1,
                  children: [
                    TextSpan(text: "what are you \nreading "),
                    TextSpan(
                        text: "today?",
                        style: TextStyle(
                          fontWeight: FontWeight.bold,
                        ))
                  ],
                ), //TextSpan
              ), // RichText
            ) // Padding
          ],
        ),
      ),
    );
  }
}
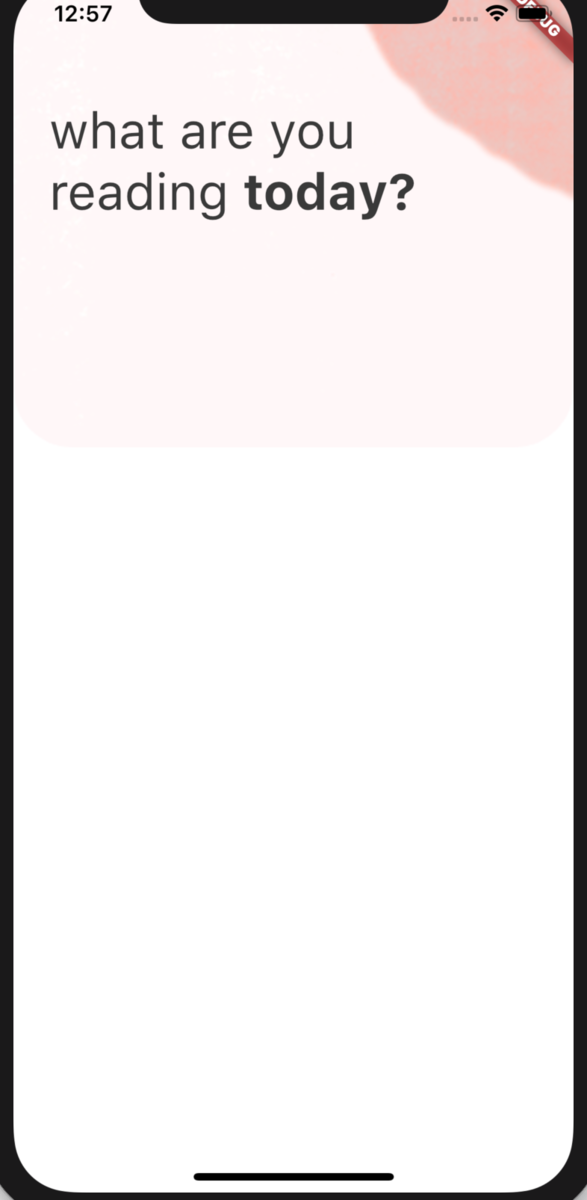
こんな感じになってます。

書籍の画像とお気に入りアイコンの追加
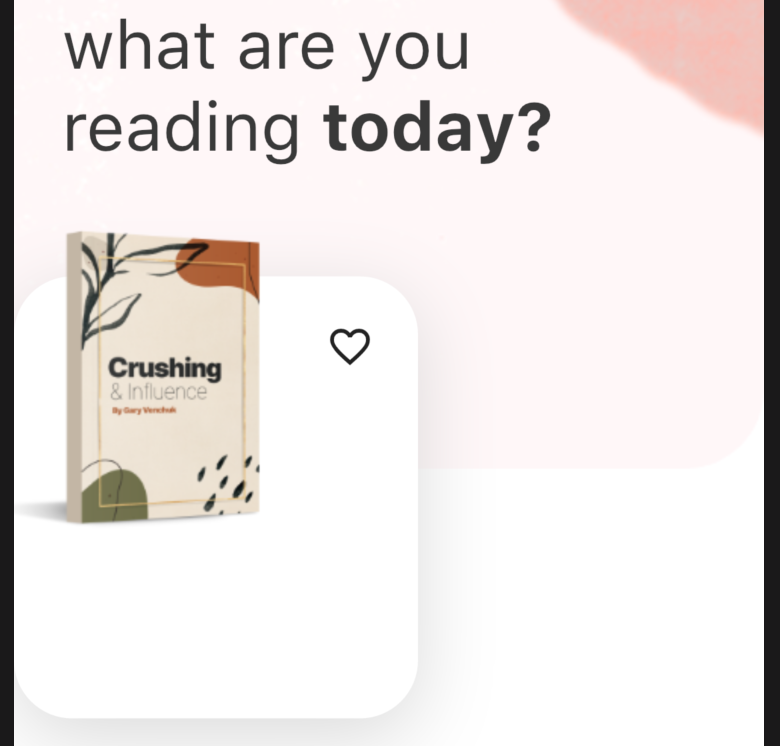
上記コードの最後のPaddingの後に、書籍画像とお気に入りアイコンを追加していきます。
), //上記の Paddingの終わり
SizedBox(height: 30),  // 余白を SizedBoxで作成。
Container(
  height: 245,
  width: 202,
  child: Stack(
    children: <Widget>[
      Positioned(
        bottom: 0,
        left: 0,
        right: 0,
        child: Container(
          height: 221,
          decoration: BoxDecoration(
            color: Colors.white,
            borderRadius: BorderRadius.circular(29),
            boxShadow: [
              BoxShadow(
                offset: Offset(0, 10),
                blurRadius: 33,
                color: kShadowColor,
              )
            ],
          ),
        ),
      ),
      Image.asset(
        "assets/images/book-1.png",
        width: 150,
      ),
      Positioned(
          top: 35,
          right: 10,
          child: Column(
            children: <Widget>[
              IconButton(
                icon: Icon(Icons.favorite_border),
                onPressed: () {},
              ), // IconButton
            ],
          ),
       ),
    ],
  ),
)

スターとレーティングの追加
書籍のお気に入りボタンの下に、スターとレーティングを追加していきます。
お気に入りアイコンの IconButton の下に続けてContainerを置いていきます。
), // IconButton
Container(
  padding:
      EdgeInsets.symmetric(vertical: 8, horizontal: 6),
  decoration: BoxDecoration(
    color: Colors.white,
    borderRadius: BorderRadius.circular(16),
    boxShadow: [
      BoxShadow(
        offset: Offset(3, 7),
        blurRadius: 20,
        color: Color(0xFd3D3D3).withOpacity(.5),
      ),
    ],
  ),
  child: Column(
    children: <Widget>[
      Icon(
        Icons.star,
        color: kIconColor,
        size: 15,
      ),
      SizedBox(height: 5),
      Text(
        "4.9",
        style: TextStyle(
          fontSize: 12,
          fontWeight: FontWeight.bold,
        ),
      ),
    ],
  ),
),
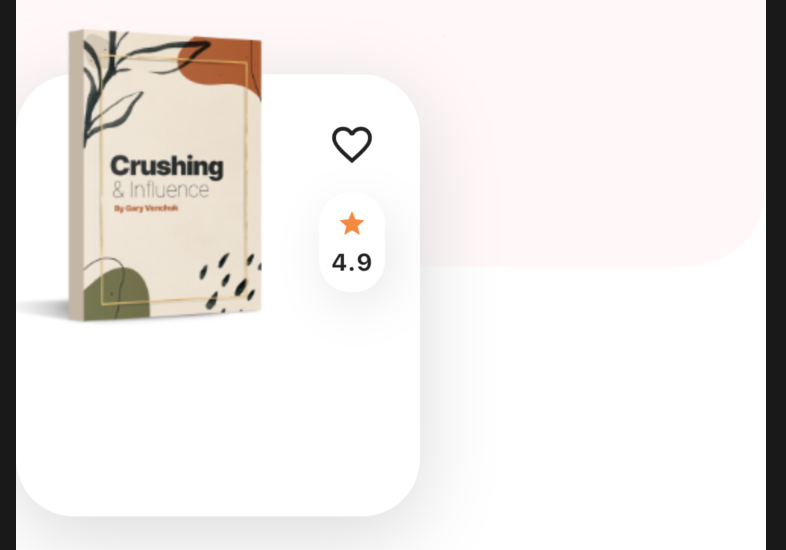
こんな感じになりました。

クラスを切り出す。
追加した、レーティングのContainerを別クラスに切り出します。
Extract Widget でサクッと切り出します。

スコアをコンストラクタのパラメーターに変更します。
Textの表示も、score 変数を表示するように変更しましょう。
class BookRating extends StatelessWidget {
  final double score;
  const BookRating({
    Key key,
    this.score,
  }) : super(key: key);

...
          Text(
            "$score",
あとは、呼び出し側でスコアを指定すれば完成です。
children: <Widget>[
  IconButton(
    icon: Icon(Icons.favorite_border),
    onPressed: () {},
  ),
  BookRating(score: 4.9),  // ← 4.9 を指定
],
画面の見た目は同じですが、コードがスッキリしました。
最後に、lib/widgets 以下に book_rating.dart ファイルを作成し、BookRatingクラスを移動しておきます。
パッケージの import を整備したら完了です。
続きます。